In the world of mechanical machining, the lathe is undoubtedly the "mother of machines." But a fast-spinning lathe doesn’t automatically guarantee high-quality products. How do you scientifically determine whether a lathe-machined part is qualified? Relying on visual checks and touch? That would be a big mistake. Today, we’ll dive deep into the inspection standards for lathe-machined products, empowering you to not only machine parts but also inspect them effectively, ensuring every output is a precision product.
1. Core Dimensions of Inspection & Common Tools
Quality inspection is far more than just "taking a measurement"—it’s a systematic process covering the following key dimensions:
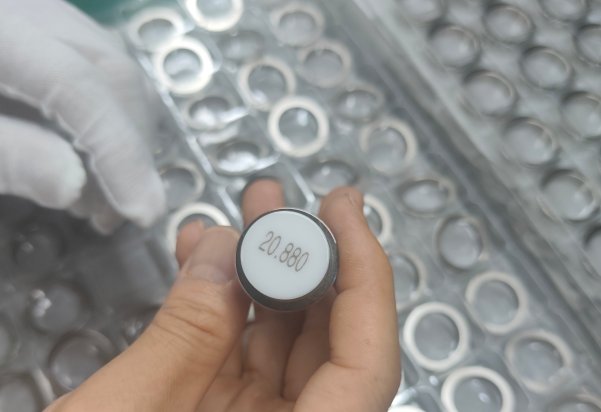
Dimensional Accuracy: The most fundamental and critical requirement.
What to inspect? Outer diameter, inner hole diameter, length, step height, thread pitch diameter/major/minor dimensions, etc.

Common tools:
Vernier Caliper: For quick measurements of general medium-precision dimensions.
Micrometer: For high-precision outer diameter measurements, with accuracy up to 0.01mm or higher.
Hole Gauge / Dial Bore Gauge: For high-precision inner hole measurements.
Thread Gauge: Includes GO (pass) and NO-GO (fail) gauges, specifically for fast thread verification.
Geometric Tolerancing: Key to ensuring part assembly and functionality.

What to inspect?
Roundness: Is the cross-section perfectly circular?
Cylindricity: Is the entire cylindrical surface uniform?
Concentricity / Coaxiality: Do the centerlines of different shaft segments align? (e.g., bearing seats at both ends of a shaft).
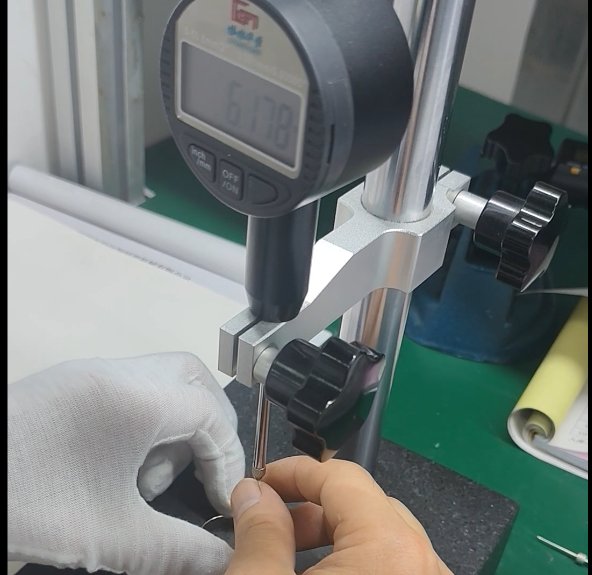
Runout: Including radial and axial runout—does the part "wobble" during rotation?

Straightness and Flatness.
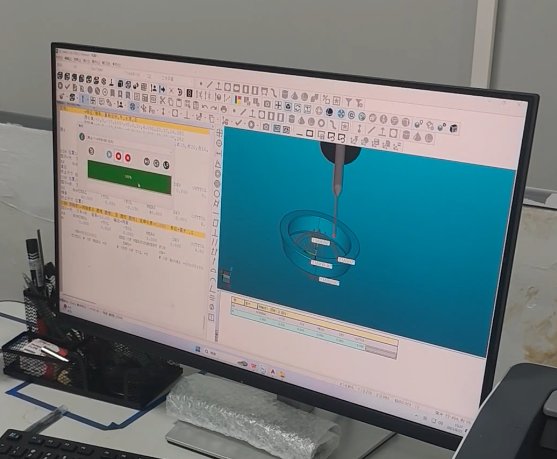
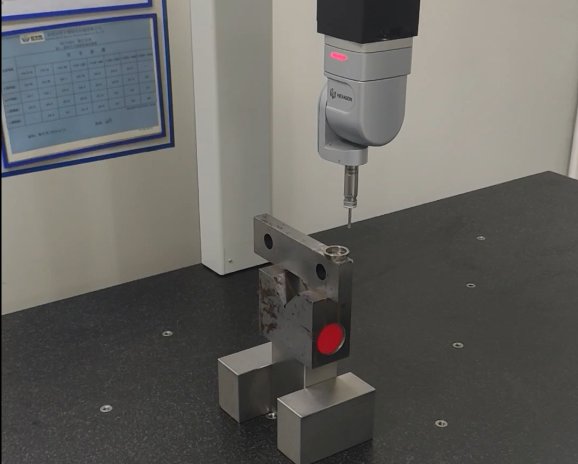
Common tools: Dial Indicator used with alignment instruments, or a Coordinate Measuring Machine (CMM).
Surface Roughness: Affects wear resistance, fatigue strength, and fit properties.
What to inspect? Arithmetic mean deviation (Ra value) of the surface microprofile.
Common tools: Surface Roughness Tester or roughness comparison samples.
2. General Inspection Process & Acceptance Criteria
Step 1: Drawing Review
Standard: The customer’s engineering drawing is the ultimate authority. Carefully review all dimensions, tolerances (dimensional and geometric), and technical requirements (e.g., heat treatment, surface treatment).
Step 2: First-Article Inspection
Standard: Before mass production, conduct a comprehensive measurement of the first completed part. All dimensions must fall within the drawing’s tolerance range. If the first article fails, do not proceed with production.
Step 3: In-Process Inspection
Standard: During batch production, periodically (e.g., every 10 parts or every half hour) sample-check critical dimensions (e.g., key fit dimensions). This monitors tool wear and equipment stability to prevent batch defects.
Step 4: Final Inspection
Standard: Conduct a final review of all finished products for appearance, key dimensions, and critical functionality. Separate conforming and non-conforming products strictly.

3. Common Defects & Non-Conforming Product Handling
Common defects: Out-of-tolerance dimensions, uncleaned burrs, scratches, dents, exceeded geometric tolerances, substandard surface roughness, etc.
Handling standards:
Rework: For defects that can be repaired by re-machining (e.g., a part turned slightly too small can be plated; burrs can be polished again).
Scrap: For defects that cannot be repaired or where rework costs exceed the part’s value, scrap decisively and document the cause for process improvement.
Conclusion:
A rigorous inspection standard is not only a commitment to quality for customers but also a reflection of the machinist’s technical prowess. It runs through the entire production process and is the foundation for cost control, reputation enhancement, and technological advancement. Remember: True craftsmanship is embodied not only in precise lathe operation but also in every meticulous measurement and judgment.


